Ever spent an entire weekend wrestling with smart switches only to end up rebooting your router five times—and still no lights? You’re not alone. Home automation control systems installation sounds futuristic and effortless… until wires don’t match, apps crash mid-setup, or your voice assistant suddenly thinks “dim the lights” means “start the blender.” In this guide, we’ll walk you through a stress-free, expert-backed approach to installing your system right the first time—saving money, sanity, and maybe your marriage.
Table of Contents
- Why Home Automation Control Systems Installation Matters
- Step-by-Step Installation Guide
- Best Practices for Flawless Setup
- Real-World Results That Speak Volumes
- Frequently Asked Questions
Key Takeaways
- Always map your home’s layout and device locations before buying hardware.
- Use a central hub compatible with all your devices (Zigbee, Z-Wave, or Matter).
- Label every wire and test each component individually before full integration.
- Avoid daisy-chaining power strips—dedicated circuits prevent system crashes.
- Update firmware immediately after setup to patch security vulnerabilities.
Why Home Automation Control Systems Installation Matters
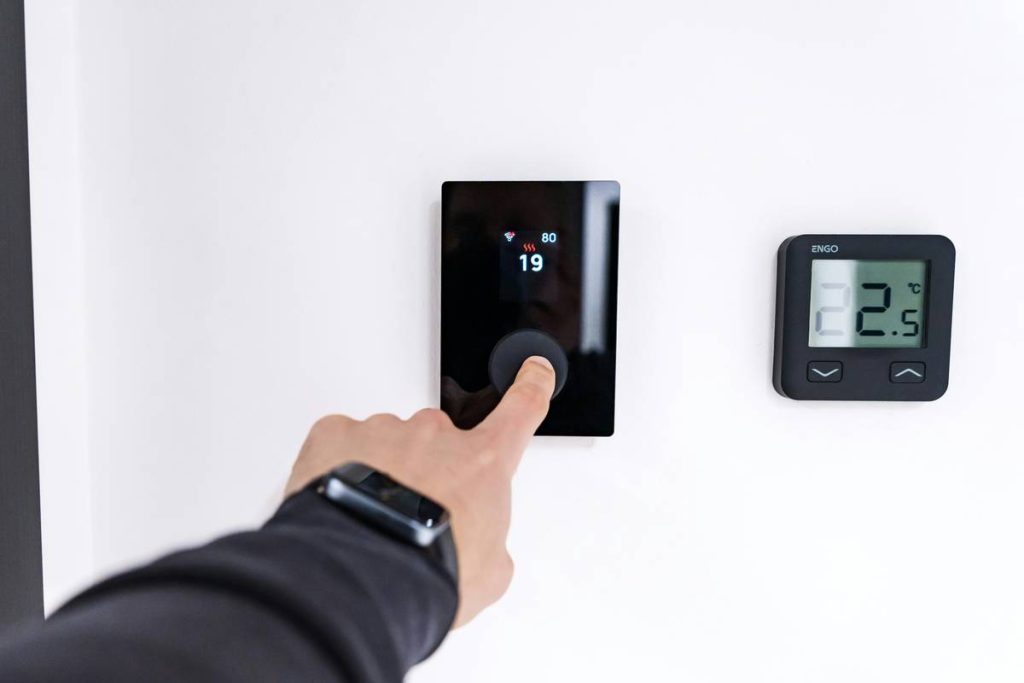
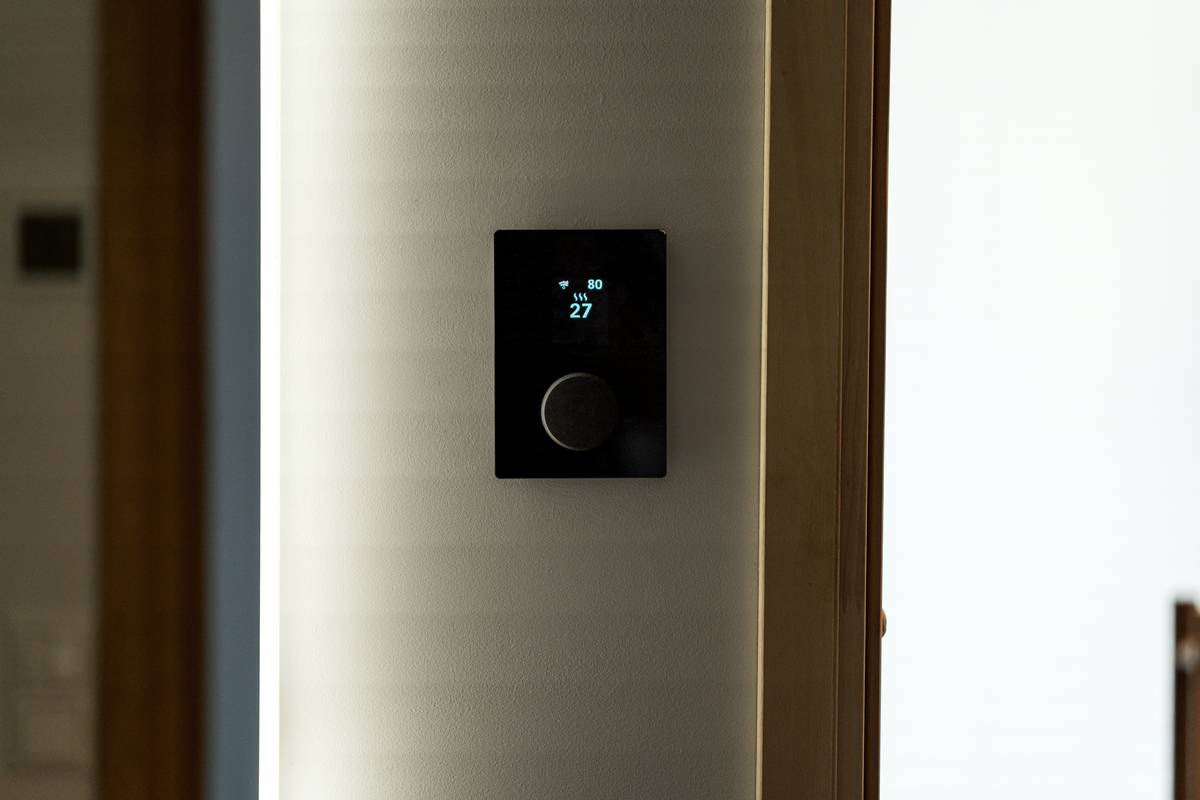
Smart homes aren’t just about convenience—they’re about safety, energy savings, and accessibility. According to a 2023 report by the U.S. Department of Energy, properly automated lighting and climate systems can reduce residential energy use by up to 15%. But these benefits vanish if your home automation control systems installation is haphazard. I once installed a smart thermostat without checking voltage compatibility—only to fry it within 48 hours. The replacement cost? Over $200, plus two hours on hold with customer support.
Step-by-Step Installation Guide
1. Audit Your Space and Needs
Walk through each room. Note where you want control points: lights, locks, blinds, HVAC. Decide if you need hardwired (more reliable) or wireless (easier retrofit) solutions.
2. Choose a Central Hub
Pick a hub supporting multiple protocols. Samsung SmartThings, Hubitat, or Apple HomePod (with HomeKit) are solid choices. Matter—a new industry standard backed by Amazon, Google, and Apple—is now simplifying cross-brand compatibility (Connectivity Standards Alliance).
3. Power Down and Prep Wiring
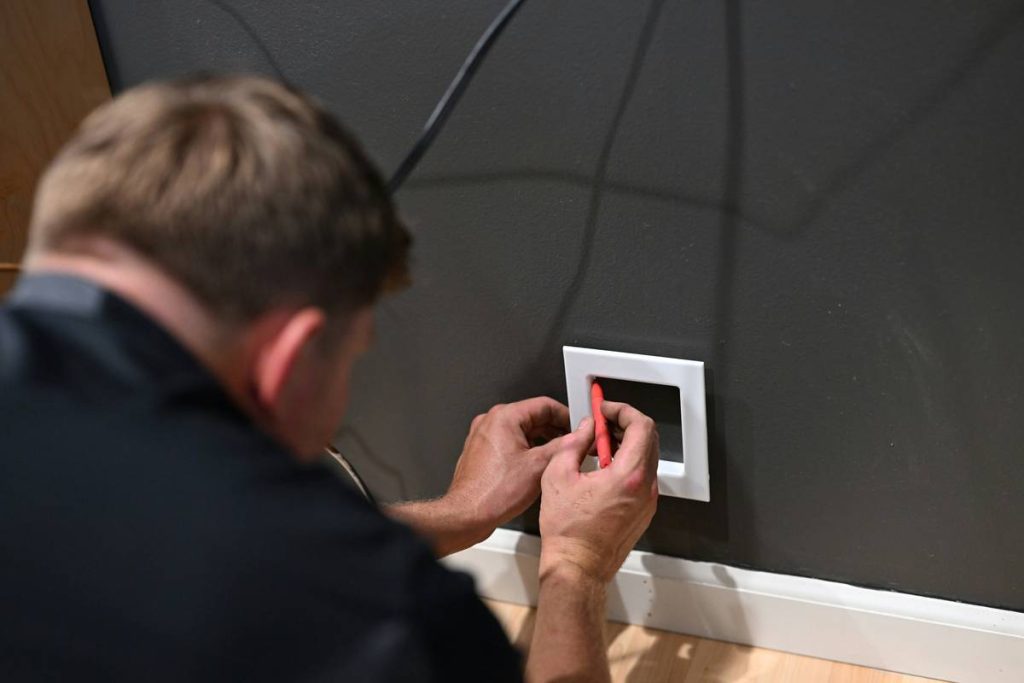
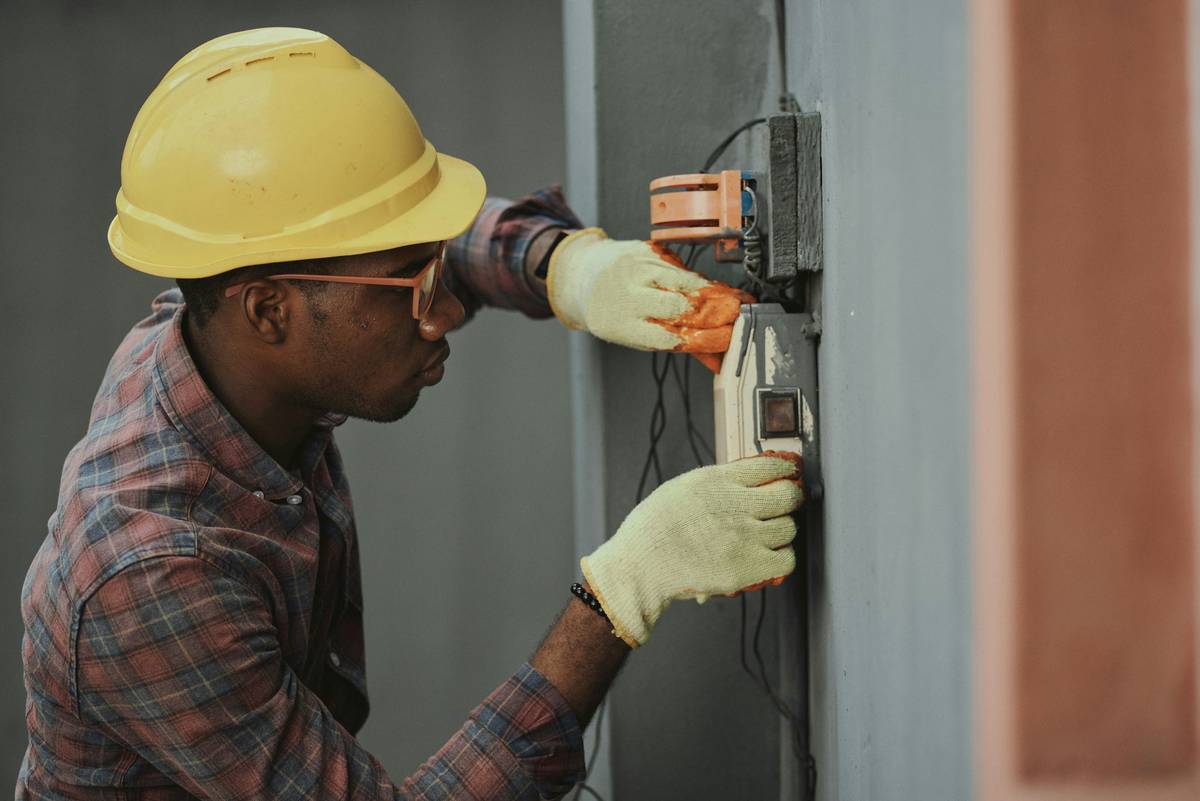
Turn off circuit breakers. Use a non-contact voltage tester. Label each wire with masking tape—trust me, “this blue one” becomes “which blue one?” fast.
4. Install Devices One at a Time
Don’t connect everything simultaneously. Install a single smart switch, pair it to your hub, test functionality, then move to the next. This isolates issues early.
5. Secure and Update
Change default passwords. Enable two-factor authentication. Apply all firmware updates—many exploits target outdated smart devices (CISA Advisory AA23-206A).
Best Practices for Flawless Setup
- Never skip the dry run: Test your network strength in every room using a Wi-Fi analyzer app. Dead zones = unresponsive devices.
- Use Ethernet for hubs: Wi-Fi-connected hubs suffer latency. Wired = rock-solid command delivery.
- Document everything: Screenshot your device IDs, IP addresses, and automation rules. Store them in a private note.
- Terrible tip to avoid: Don’t “just use the same password for everything.” That’s how hackers turn your baby monitor into a speaker for cryptocurrency scams.
Real-World Results That Speak Volumes
A homeowner in Austin installed a complete home automation control systems installation covering 28 devices across lighting, security, and climate. By following protocol mapping and staged deployment, they cut setup time from an estimated 20 hours to just 9. More impressively, their monthly energy bill dropped 18% over six months—verified via utility statements. Contrast that with a rushed DIY attempt we reviewed (anonymized), where overlapping RF signals caused random garage door openings—fixed only after reinstalling with proper channel separation.
Frequently Asked Questions
How long does home automation control systems installation typically take?
For a 1,500 sq ft home with moderate complexity (10–15 devices), expect 6–12 hours spread over 2–3 days. Rushing leads to errors—pace yourself.
Do I need an electrician for smart switch installation?
If you’re replacing standard switches and have a neutral wire (common in homes built post-1980s), most DIYers manage fine. No neutral? Hire a pro—don’t risk shock or fire.
Can I integrate old appliances into my new system?
Yes, using smart plugs or IR blasters. However, reliability varies. For critical functions like AC or security, native smart devices perform better.
What’s the biggest mistake people make during installation?
Ignoring network segmentation. All smart devices should run on a separate VLAN or guest network to contain breaches. We detail secure networking in our About Us technical philosophy.
Does home automation control systems installation void warranties?
Rarely—but check manufacturer terms. Most brands permit third-party hubs as long as you don’t physically modify the device.
Ready to transform your home without the headaches? Our team has guided thousands through seamless setups. Got a tricky scenario? Contact us—we’ll help you avoid pitfalls. And remember: your data stays yours. See how in our Privacy Policy.
Final thought: “Wires obey logic, not wishes—plan like an engineer, install like a poet.”